I thought I would share with you my process for making one of my stop motion videos, particularly the first social media post I made for North York Arts.
I knew I wanted it to be an introductory post about me so what better way to illustrate that than to make mini paper versions of myself.
My original idea had paper-me floating down, holding balloons that spell out my name. Once I land, a big hand comes out of one corner of the screen, waves, and then drops down a bunch of my favourite things (books, camera, a pencil, etc.). This scares paper-me but once I see that it means no harm I burst
out laughing.
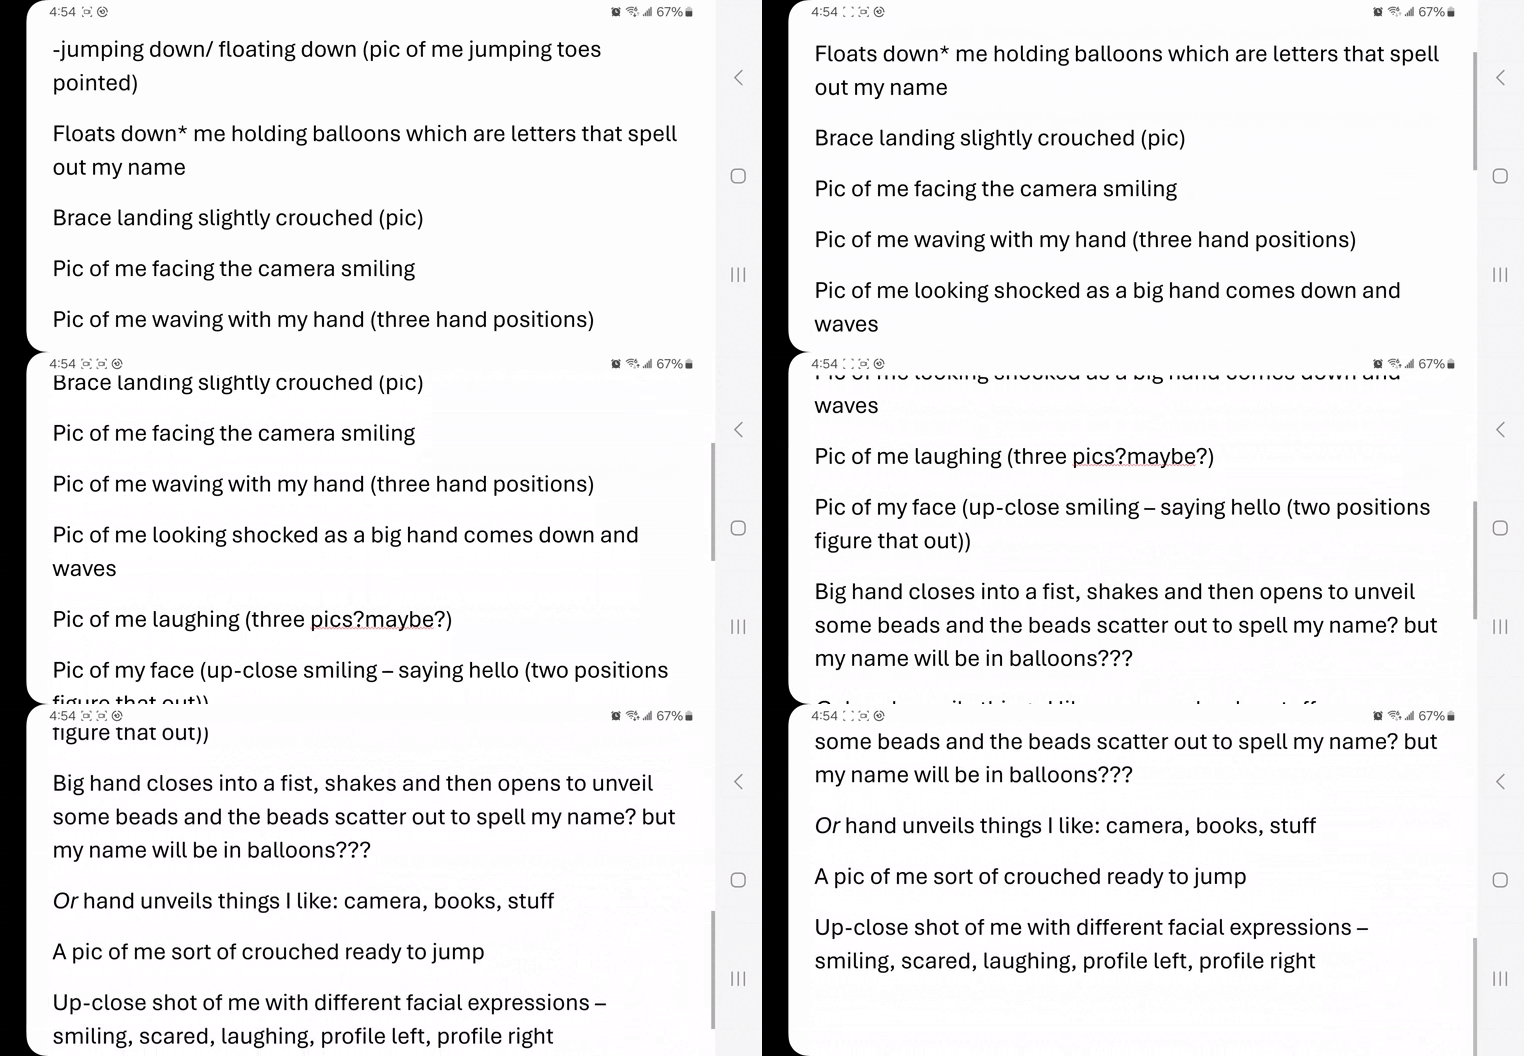
I then type up my storyboard/ shot list. Take a bunch of pictures of myself in every pose. I go through and select the photos I’m going to use and add them to a word doc, alter the sizes of the photos and then print them out.
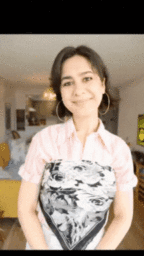
I do not have a colour printer, so I go over to my aunt and uncles house to print all my images and what I imagined was going to be a quick step ends up taking awhile because the images were coming out streaky and faded. My uncle fixes the printer but is very insistent that I don’t throw away the streaky images and maybe I could use them in the animation. I humour him but what I’m really thinking is I’ll use them as scrap paper. But then I think of the glitch segment, and my idea starts to change a bit and I turn some paper-me’s into glitching versions of me. I cut out all the pieces, I lay them in a book with some weights on top, so the paper doesn’t curl and I leave it in there for a couple of days.

Then on filming day I take out all my paper props and start figuring out my background. I originally wanted a giant crescent moon to hang from one side (I thought it would look cool and give it a vintage-y movie set look). So, I film it this way but the sizing looks off, so I scrap it.

In the second round of filming and editing I don’t like the moment the big hand comes in and drops off all the things I like around me. To me it looks too messy and it takes too long for all the items to settle into place.
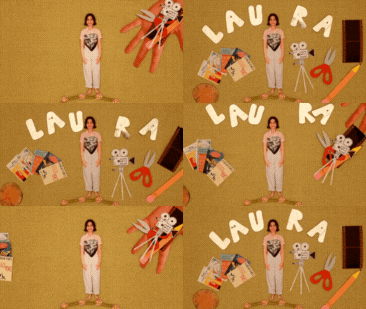
So, I scrap what I shot again, and at this moment I don’t feel great, I never love having to reshoot something, because I always feel like I should be able to get it right the first time. But after shooting and editing each time I do get a bit closer to what I want it to look like.
I take a 10-minute break, try to gather my confidence, sit back down, and start again. This time I have my items come in from each side of the screen, I work in reverse which is much easier because then I can take my time laying it all out. I add in the scrunched up blue paper balls to add in more colour and fill up the space. I also add in my disembodied head popping in to say ‘hello’ and since I like that look, in the opposite corner I add in a tiny, disembodied hand waving. Then I do a rough edit to see if I like it or if I’ll need to reshoot it for a fourth time, but finally I am pleased with it.
Then all that’s left is to find the right audio, which is me going through my mini library of sounds I have created over the years and pulling in anything that piques my interest. I watch them with the visuals to see what works. The audio that I match with the glitch is just me scrunching up some paper but if you stretch it out it turns into this very electronic tinny sound which I thought worked perfectly with the
visuals of the glitch. I also reversed the audio clip to make it sound off. I love reversing an audio clip, because it makes me feel like a professional audio engineer, I doubt they do this, but I allow myself this one fantasy.
And that was my process for my stop motion animation I made for North York Arts. If you have any other questions, you can always DM me on Instagram @laura_kz
Experience the complete stop-motion animation below: